One snow
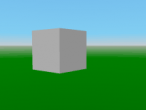
For the Holiday Season Challenge, I thought of creating some animating (flying) snowflakes. So I started with creating one piece of snow. My idea is that this snow should fall from about 30 meters above ground. It should fall with some acceleration but not to fast because it is light. It should also spin a little while falling. For an easy beginning, I used a scaled rectangle to be the snow. If this works, this snow can be easily transformed into a more beautiful snowflake, and it can be multiplied to create many falling snowflakes.
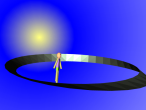
The Basic animation in VRMath2 blog has introduced a simple animation including change of position and change of orientation. I simply borrowed the codes and modified them to create this falling snow. The falling of 30 meters takes 30 seconds and the spinning takes 4 seconds as a cycle. I set the viewpoint to look up so if you observe carefullly, this piece of snow will fall from the sun.
The codes are listed below with explanations.
; one piece of snow coming down from 30 meters above ; By Andy Yeh CS RESET SETBG 29 SETSCALE .05 .08 .05 SETDC 880 880 880 SETEC 700 700 700 SETSC 930 930 930 SETAI 66 SETSH 540 SETTR 0 RECTANGLE MAKE "snow OBJECT ; create a variable :snow with value the current object id. ; whenever there is an object created, the keyword OBJECT will store its id. ; :snow will be used later for animation MAKE "poskey [] ; make a variable :key as an empty list MAKE "poslist [] ; make a variable :poslist as an empty list MAKE "orikey [] ; make a variable :key as an empty list MAKE "orilist [] ; make a variable :orilist as an empty list ; collect key values. Keys should be between 0 to 1 ; repeat to collect value because sometimes I need more values between 0 and 1 ; the keys can be different intervals. QUEUE "poskey 0 ; queue first value in key list REPEAT 4 [ QUEUE "poskey REPCOUNT / 4 ; queue is a command to add a value to the end of the list ] QUEUE "orikey 0 ; queue first value in key list REPEAT 12 [ QUEUE "orikey REPCOUNT / 12 ; queue is a command to add a value to the end of the list ] ; to collect position values, simply move the turtle around ; the command pos will return the turtle's position/location UP 30 QUEUE "poslist POS ; queue current position as the first value in :poslist list DN 5 QUEUE "poslist POS ; second value DN 10 QUEUE "poslist POS ; third value DN 15 QUEUE "poslist POS ; fourth value, I only go east 1 because this will create different speed effect. QUEUE "poslist POS ; fifth value, back to beginning position ; to collect orientation values, simply rotate the turtle ; the command ori will return turtle's orientation. QUEUE "orilist ORI ; queue first value of current orientation REPEAT 4 [ ; use repeat to collect the next 4 values. RD 90 QUEUE "orilist ORI ] REPEAT 8 [QUEUE "orilist ORI] ; ; for animation, a timesensor is needed. The syntax of timesensor is ; timesensor name loop_interval_in_second loop_true_or_false TIMESENSOR "TIME1 30 "TRUE TIMESENSOR "TIME2 4 "TRUE ; to animate position, we need a position interpolator ; posint name key value POSINT "pi :poskey :poslist ; to animate orientation, we need an orientation interpolator ; oriint name key value ORIINT "oi :orikey :orilist ; now we have everything ; we use command route to hook up everything ; route name from_node from_field to_node to_field ROUTE "route1 "TIME1 "fraction_changed "pi "set_fraction ROUTE "route2 "TIME2 "fraction_changed "oi "set_fraction ; the above, we use the same timesensor to drive both interpolators ; the fraction_changed and set_fraction are fixed, simply type in exactly as they are. ROUTE "route3 "pi "value_changed :snow "translation ; since pi is now in action, we route its value to :snow's translation ROUTE "route4 "oi "value_changed :snow "rotation
Then, I will need to publish or export this one piece of snow to x3d files so I can use it later in blogs or other virtual world. There are generally two types of x3d files you can publish in VRMath2 Editor. The first one is to be used in blog so inclusions of viewpoint, background information, and navigation infromation are recommended. The image below shows the option I selected when publishing for blogging.
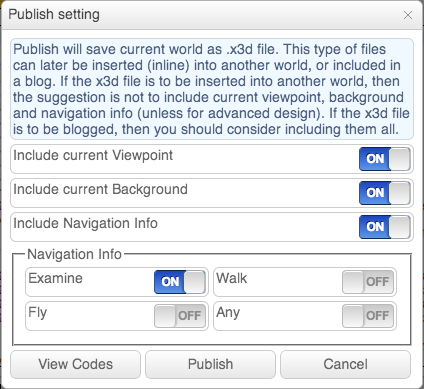
The published x3d file is here: one_snow_with_background.x3d and this is the one you see above.
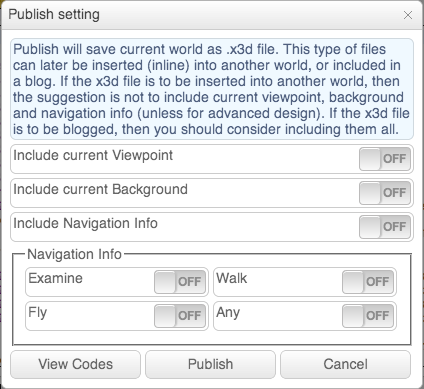
For use in another virtual world as inline, I will not need the viewpoint and background information etc. Therefore, I turned off everything when publishing. The image below shows my publish setting. and the published file is available here: one_snow.x3d.
In my next next next blog, I will be using this piece of snow to create 100 pieces of flying snow. My next blog will be a simple Christmas tree, and the next next blog will be a snowman. Then I will put everything together for a Christmas Scene.
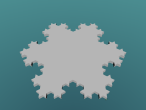
What do you think about this falling snow? It should be easy to turn this rectangle snow into a good looking snowflake. There are probably two ways to do. The first is using the turtle to draw a hexgonal snowflake, and the second way is to apply a backggound transparent snowflake image on a rectangle (make it a small sqaure). Let me know what you think below in the comment area, and if you have improved my snow, I hope to see your blog in VRMath2. Cheers,
File: one_snow.logo
- Andy's blog
- Login or register to post comments
- 3993 reads